
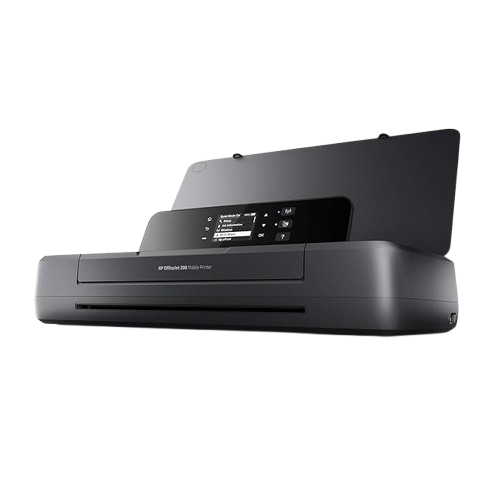
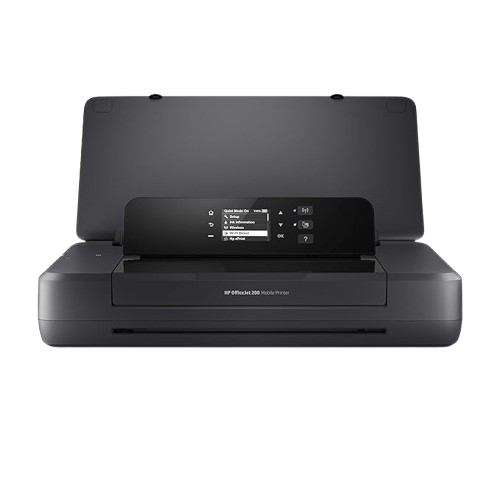
HP OfficeJet 200 printer

To set up your HP OfficeJet 200 printer, follow these steps:
- Unbox the printer and remove all protective materials.
- Plug in the power cord, and turn on the printer using the power button.
- Open the ink cartridge access door.
- Unpack the ink cartridges that came with your printer.
- Insert the cartridges into their respective slots and close the access door.
- Pull out the paper tray.
- Load a stack of plain paper into the tray.
- Adjust the paper width guides to fit the paper.
- Visit the HP Support website or your ijstart123 download drivers page.
- Search for “HP OfficeJet 200” and download the latest drivers for your operating system.
- Run the installer and follow the on-screen instructions to complete the driver installation.
- If using Wi-Fi, navigate to the printer’s control panel, select the wireless icon, and follow the prompts to connect to your network.
- For a wired connection, use a USB cable to connect the printer directly to your computer.
- After the setup is complete, print a test page to ensure everything is functioning correctly.
If you encounter any issues during the setup process, refer to the printer’s user manual or visit the ijstart123 website for troubleshooting tips and additional support.
Check for Paper Jams
To check for paper jams in your HP OfficeJet 200, follow these brief steps:
- Turn Off and Unplug: Power off the printer and unplug it.
- Remove Loose Paper: Open the input tray and remove any loose paper carefully.
- Check Output and Cartridge Areas: Open the output tray and ink cartridge access door, removing any visible jams.
- Inspect Rear Access: If your printer has a rear access door, open it and clear any jams.
- Reconnect and Test: Reinstall any removed parts, plug in the printer, and power it on. Load paper and print a test page.
Ensure paper is properly aligned and the tray isn’t overloaded to prevent future jams.

Check Ink Cartridges
To check the ink cartridges in your HP OfficeJet 200, follow these steps:
- Turn On the Printer: Make sure your printer is powered on.
- Open the Ink Cartridge Access Door: Lift the access door to reveal the ink cartridges.
- Check Ink Levels: Look at the printer’s display or use your computer’s printer software to check the ink levels.
- Inspect the Cartridges: Ensure the cartridges are properly seated and not leaking. If any cartridge is low or empty, replace it with a new one.
- Close the Access Door: Once you’ve inspected or replaced the cartridges, close the access door.
- Print a Test Page: Print a test page to confirm that the ink is flowing correctly and there are no issues.
This process helps maintain optimal print quality and prevents potential printing problems.
Update Printer Firmware
To update the firmware on your HP OfficeJet 200 printer, follow these steps:
Turn On the Printer: Ensure your printer is powered on and connected to your computer or Wi-Fi network.
Download the Latest Firmware:
- Go to the HP Support website or visit the ijstart123 website.
- Search for your printer model, “HP OfficeJet 200.”
- Download the latest firmware update available for your printer.
Run the Firmware Update:
- Open the downloaded firmware file on your computer.
- Follow the on-screen instructions to install the firmware. Ensure the printer remains powered on during the update process.
Wait for the Update to Complete:
- The printer may restart during the update. Do not turn off the printer or disconnect it until the update is finished.
Verify the Update:
- Once the update is complete, check the printer’s control panel or software to confirm that the firmware version is current.
Updating the firmware ensures your printer runs efficiently and has the latest features and fixes.

Check Wi-Fi Connection
To check the Wi-Fi connection on your HP OfficeJet 200 printer, follow these steps:
Check the Printer’s Wi-Fi Status:
- Look at the printer’s control panel or display for the Wi-Fi icon. It should be lit or show a connection symbol if connected.
Print a Wireless Network Test Report:
- Access the printer’s settings menu.
- Select “Network Setup” or “Wireless Settings.”
- Choose “Print Wireless Network Test” to print a report that shows the status of the Wi-Fi connection.
Check for Error Messages:
- Review the printer’s display or the test report for any error messages related to the Wi-Fi connection.
Verify Network Details:
- Ensure the printer is connected to the correct Wi-Fi network (SSID) and that the password is correct.
- Check that your Wi-Fi network is working and other devices can connect.
Restart Printer and Router:
- Turn off both the printer and router, then turn them back on to reset the connection.
Run Wireless Setup Again (if needed):
- If the connection issue persists, run the wireless setup again from the printer’s control panel.
Ensuring your printer is connected to Wi-Fi allows for seamless wireless printing from any device on your network.
Restart Wi-Fi Router
To restart your Wi-Fi router, follow these simple steps:
Turn Off the Router:
- Locate the power button on your router, and press it to turn off the device.
- Alternatively, you can unplug the power cord from the router.
Wait for 30 Seconds:
- Leave the router off for about 30 seconds. This allows the router to reset and clear its cache.
Turn On the Router:
- Press the power button again to turn the router back on, or plug the power cord back in.
- Wait for the router’s lights to stabilize, indicating it has fully rebooted and reconnected to the interne
4. Reconnect Devices:
- Once the router is back online, reconnect your devices to the Wi-Fi network.
Restarting the router can help resolve connectivity issues and improve the performance of your network.


Uninstall and Reinstall Printer Drivers
To uninstall and reinstall printer drivers for your HP OfficeJet 200, follow these steps:
Uninstall the Printer Drivers
Open Control Panel (Windows) or System Preferences (Mac):
- Windows: Type “Control Panel” in the search bar and select it.
- Mac: Click on the Apple menu and choose “System Preferences.”
Go to Printers & Devices:
- Windows: Click on “Devices and Printers” or “View devices and printers.”
- Mac: Select “Printers & Scanners.”
3. Remove the Printer:
- Windows: Right-click on your HP OfficeJet 200 and choose “Remove device.”
- Mac: Select your printer in the list, then click the “-” button to remove it.
4. Uninstall the Printer Driver:
- Windows: Go to “Programs and Features” in Control Panel, find the HP driver, and click “Uninstall.”
- Mac: Open the “HP Uninstaller” from the Applications folder, then follow the on-screen instructions.
Reinstall the Printer Drivers
- Download the Latest Driver:
- Visit the HP Support website or the ijstart123 website.
- Search for “HP OfficeJet 200” and download the latest driver for your operating system.
2. Install the Driver:
- Open the downloaded driver file and follow the on-screen instructions to install it.
- Ensure your printer is turned on and connected to your computer during the installation process.
3. Add the Printer:
- Windows: Go to “Devices and Printers” and click “Add a printer.”
- Mac: Go to “Printers & Scanners” and click the “+” button to add your printer.
4. Test the Printer:
- Print a test page to ensure the printer is working correctly with the newly installed drivers.
This process can help resolve any driver-related issues and ensure your printer is functioning correctly.